


Azure Covenant Tower sits at -423, -1425
 Ice or
 ElectricDragon / Water
Auri leads the Azure Covenant. Her Pal is 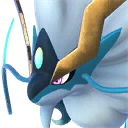 Shaolong. The tower is on a Sunreach sky island. The tower pin is −423, −1425.
You may also see −423, −1426. That is the same island, 1 unit off.
2 older pins also sit on this island: −433, −1424 and −419, −1431.
| Coordinates | Name |
|---|---|
| −423, −1425 | Azure Covenant Tower, Sunreach |
| −433, −1424 | Azure Covenant Tower, Sunreach |
| −419, −1431 | Azure Tapestry / Sunreach |
The pins sit about 14 units apart on the same island. Fly the Sunreach sky island. All 3 pins land you on the tower approach.
Palworld 1.0 removed Great Eagle Statues from tower roofs. After a win you still exit at the top. There is no roof statue fast-travel on this tower.
This is faction tower 8 of 8. The 8 towers, in climb order:
- Tower of the Rayne Syndicate. Zoe and
 Grizzbolt. 113, −431. Level 10.
- Free Pal Alliance Tower. Lily and Lyleen. 36, −311. Level 20.
- Brothers of the Eternal Pyre Tower. Axel and
 Orserk. −587, −517. Level 30.
- PIDF Tower. Marcus and Faleris. 556, 335. Level 40.
- PAL Genetic Research Unit Tower. Victor and Shadowbeak. −148, 447. Level 50.
- Moonflower Tower. Saya and Selyne. −597, 206. Level 55.
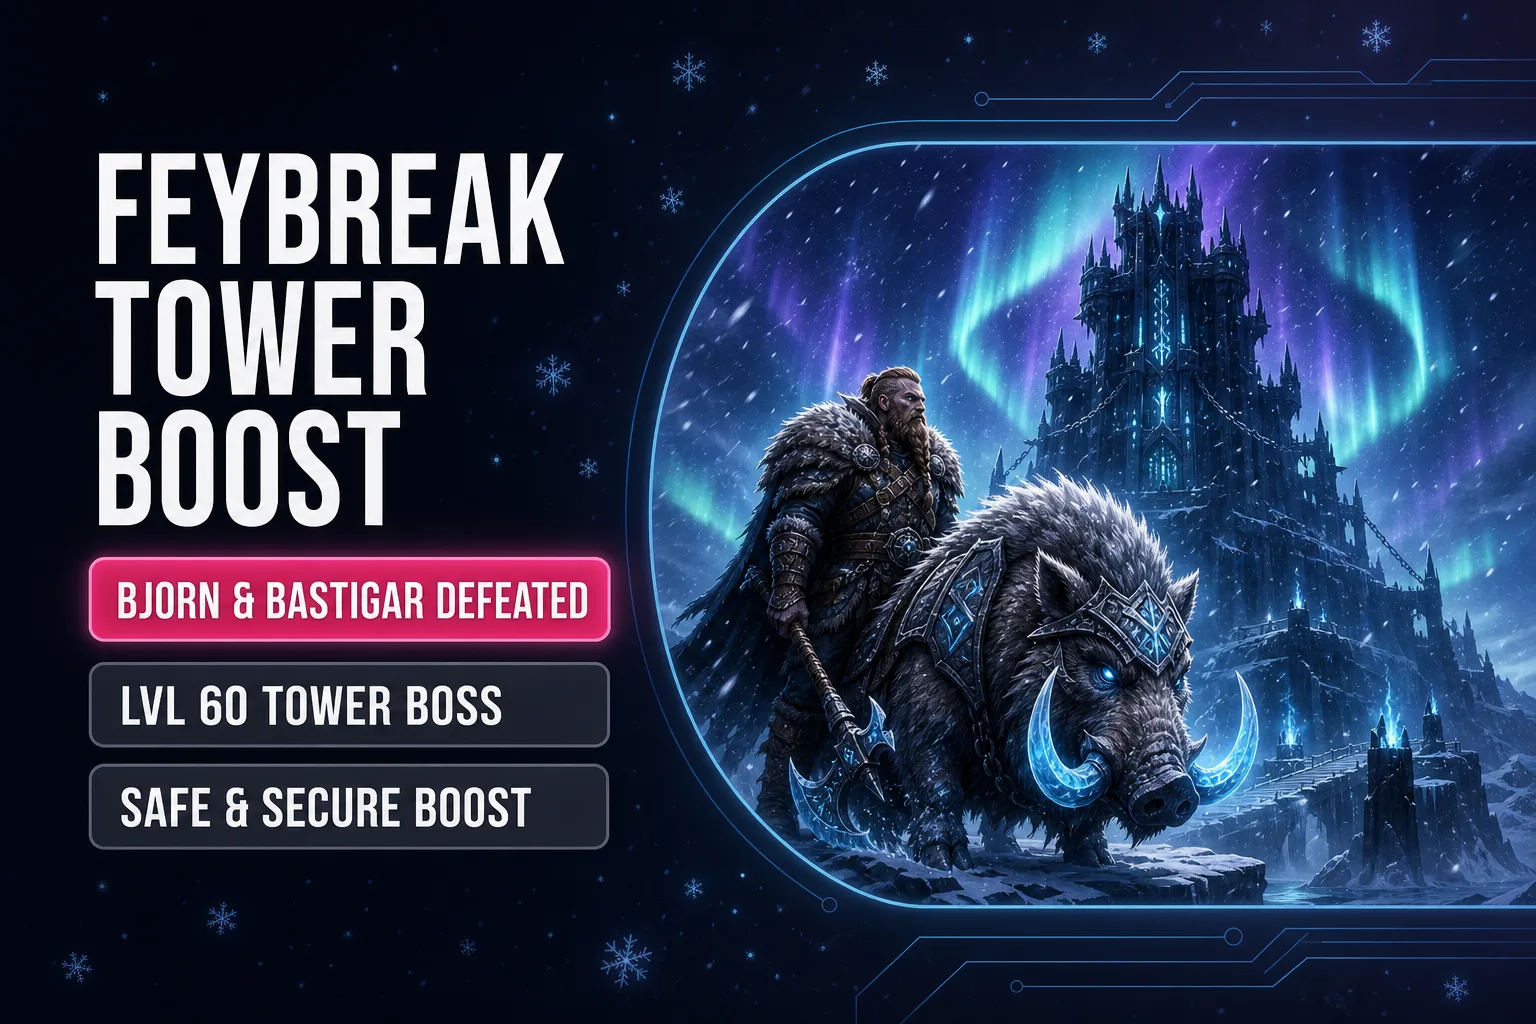
- Feybreak Tower. Bjorn and
 Bastigor. −1294, −1669. Level 60.
- Azure Covenant Tower. Auri and Shaolong. −423, −1425. Level 68. Hard 80.
A pair named Zenara and Astralym still has a page on some guides. The tower list ends at Azure.
Hard mode levels: the 5 early towers sit at hard 55. Moonflower stays at 55. Feybreak stays at 60. Azure is the only tower that jumps to hard 80.
Every tower now has its own battlefield. Axel and Orserk run electrified grids. Saya and Selyne fill craters with poison. Shaolong fills this floor with water. Watch the arena. The HP bar is the other half of the fight.
How to drop the tornado: 6 devices plus Feybreak
You cannot walk in while the barrier is up. Shut down all 6 defense systems around Sunreach. That drops the tornado around the tower.
Beat Bjorn and Bastigor at Feybreak Tower. That turns the Sunreach altar on and opens the warp to the sky islands.
Those are 2 different steps. The 6 devices drop the weather. The Feybreak clear turns the altar on. Do both if you are still staring at a cyclone.
Sunreach islands around the tower sit at level 60 and above. Pack that climb before you walk the 6 devices.
The mission that sends you here is Hope Springs Eternal. You reach Sunreach after Feybreak. Speak with a Sunreach citizen. Gather what they say about Auri. Then shut the 6 systems down.
After the clear you pick up the Key Sphere of Original Sin and keep walking toward the World Tree. You can talk to Auri again later on that path.
A win ejects you to the top of the tower. You can walk back in and rematch at any time. A wipe drops your bag at the door. Pick it up before the next pull.
On LFCarry, Feybreak Tower is a fixed $35 checkout. Tower of the Azure Covenant is a fixed $40 checkout.
The climb still burns fragments. Where to farm Paldium Fragments before you walk the 6 devices.
Ask LFCarry how to get in →Tell LFCarry which devices you have down and whether Feybreak is done. Free, about 30s.
Auri and Shaolong: level, HP, elements, timer
The fight is a shared HP bar. Palworld 1.0 shortened the timer from 10 minutes to 5 minutes. Up to 4 players can enter.
If the timer expires, you die and drop at the door. Recover the bag at the entrance and walk back in.
Encounter level is 68. Recommended walk-in level is 70. Bring Pals at that band.
Normal HP is 327,600. Shaolong is  Dragon and
 Water.
| Fact | Number |
|---|---|
| Encounter level | 68 |
| Recommended walk-in | 70 |
| Normal HP | 327,600 |
| Hard rematch | 80 / 501,600 HP |
| Timer | 5 minutes |
| Players | 4 |
Ice hits at ×1.5. Electric hits at ×1.5. Fire and Dark sit at ×0.66.
Shaolong floods the arena. Water fills the floor. A flying mount keeps you off that water. 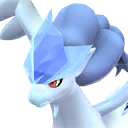 Frostallion is Ice and flight in the same Pal.
Keep Auri on your Pal. Shoot Shaolong from range when the flood starts. That split keeps the water off your mount for longer.
Dodge Shaolong's Flooding. Standing in the water is the wipe, even when the HP bar looks free. A flyer lets you keep shooting while the floor is gone.
The shared bar is 1 pool for Auri and Shaolong. Damage on either side moves the same timer. Burn the bar before the 5 minutes end.
What to bring: Ice, Electric, gear
Ice covers the Dragon side. Electric covers the Water side. Bring at least 1 of those 2 elements. Bring a flyer if the flood is wiping you.
Ice pals for this fight: 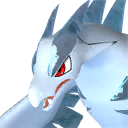 Vanwyrm Cryst,
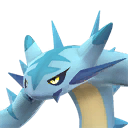 Cryolinx,
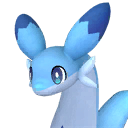 Chillet, Frostallion, Bastigor, Moldron Cryst.
Electric pals for this fight: Grizzbolt, Orserk.
Player kit at tech 67 to 70: Mechanical Bow, Combat SMG, Prototype Shotgun, Heavy Assault Rifle at tech 70, Ancient Helm and Armor at tech 68, Advanced Shield.
Ride Frostallion so your own gunfire converts to Ice and you stay off the flood. Fill the other 4 slots with condensed Ice or Electric pals if you have them.
If you only have Orserk, that is enough Electric for the Water side. Ask LFCarry the box if the flood is still the wipe.
Chillet is Ice. Ride it if Frostallion is still locked. A ground Chillet still dies in the flood, so swap to a flyer when the water rises.
Azure Covenant Tower boost →Azure Covenant Tower is a fixed $40 checkout. Feybreak, the altar unlock, is $35.
The tower on this page, and the 2 that unlock it
Azure Covenant $40. Feybreak $35. Sakurajima $29. Character leveling from $5.
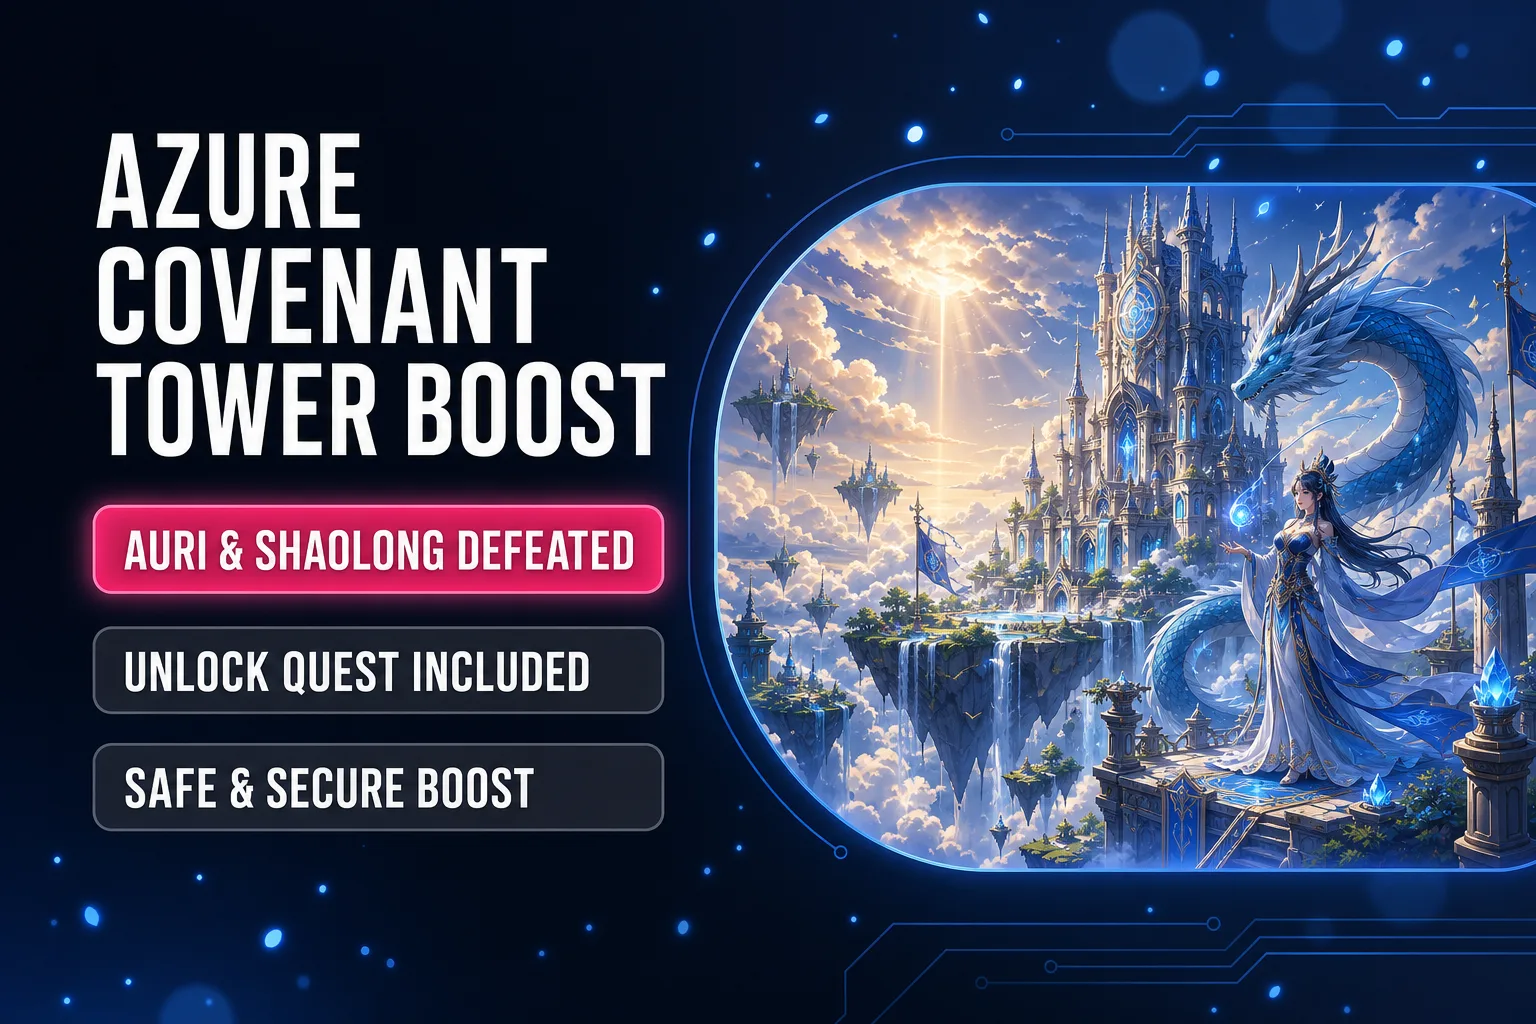 This tower
Palworld Tower of the Azure Covenant Boost
Auri and Shaolong at the Azure Covenant Tower in Sunreach. The page you just read.
 The gate
Palworld Feybreak Tower Boost
Bjorn and Bastigor. The Feybreak clear that turns the Sunreach altar on.
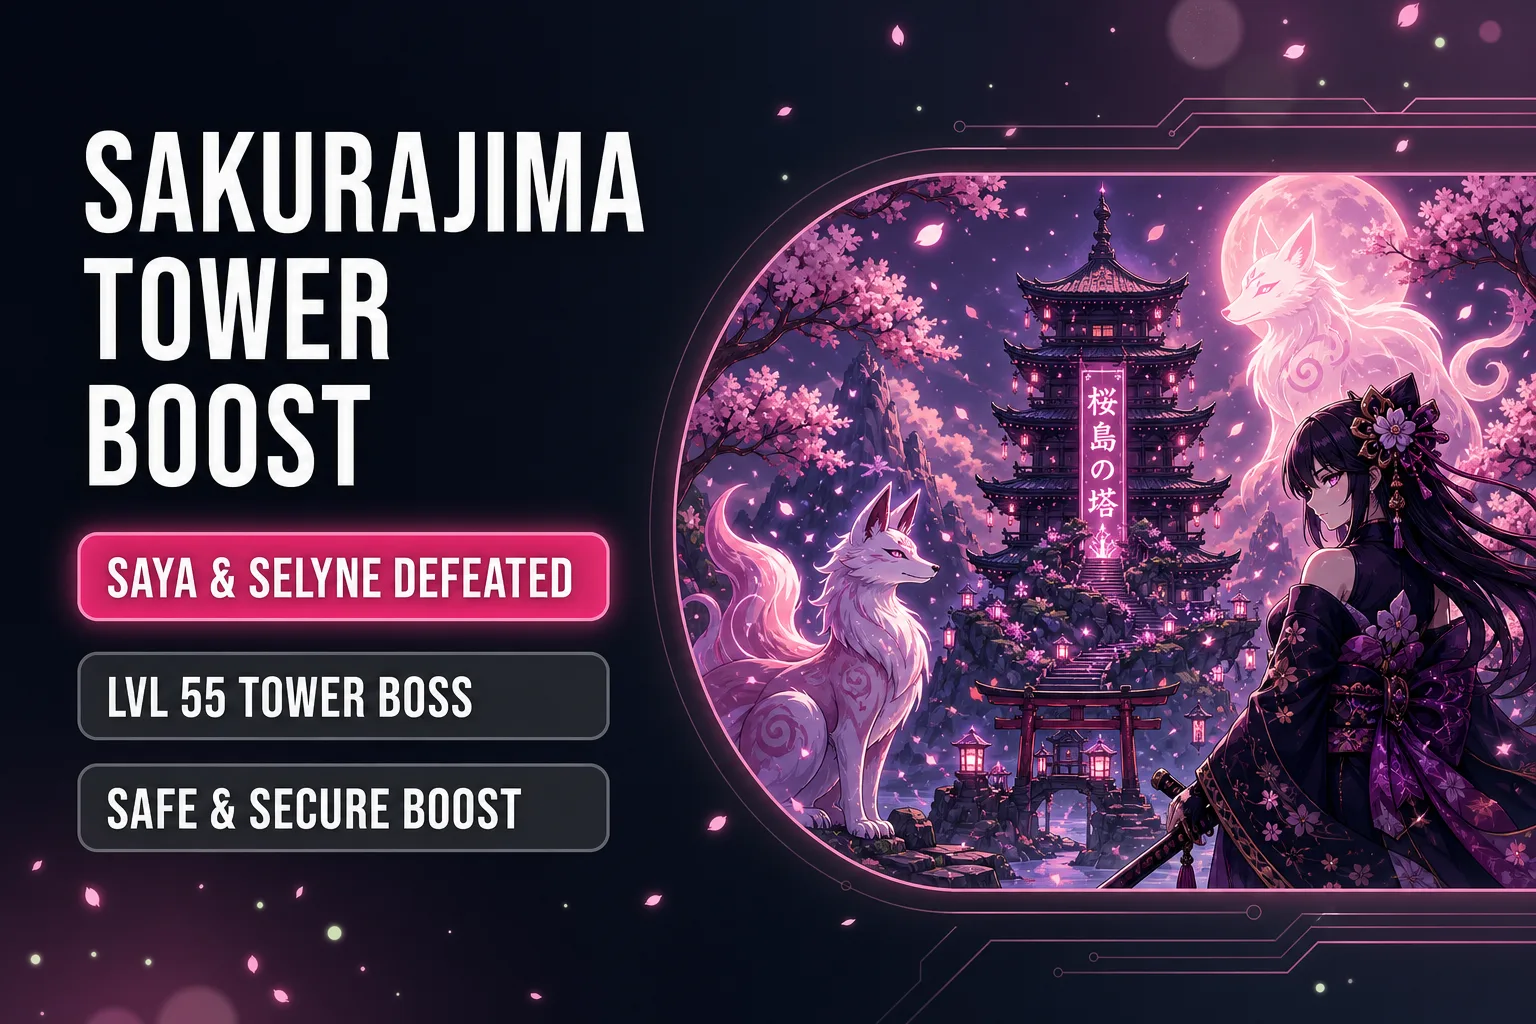 Sakurajima
Palworld Sakurajima Tower Boost
Saya and Selyne. The Sakurajima tower that sits before Feybreak on the climb.
_65b7c980b642e.webp) Level
Palworld Character Leveling 1-80
1 to 80 if you still need the recommended 68.
Hard mode 80 / 501,600 HP, then the $40 climb
Hard rematch unlocks after Auri and Shaolong. Every earlier tower then gets a hard rematch. Hard mode offers unique loot on those rematches.
Hard mode for this pair is level 80 / 501,600 HP.
Hard mode multipliers: HP ×88, damage dealt ×12, taken ×0.2.
On the climb this is late-game, after Feybreak. Saya and Selyne at Sakurajima Tower sit before Feybreak. Feybreak Tower sits before this door.
LFCarry clears each tower for a fixed price:
- Sakurajima Tower, $29
- Feybreak Tower, $35
- Tower of the Azure Covenant, $40
Character leveling starts at $5 if you still need the 68. Ask LFCarry the shrine if the storm is still up. Free.
Related farm: Paldium Fragments. All Palworld services: Palworld hub.
FAQ
Sunreach sky island. Live pin −423, −1425. 2 earlier pins on the same island: −433, −1424 and −419, −1431.
Shut down all 6 defense systems around Sunreach. Beat Bjorn and Bastigor at Feybreak Tower to turn the altar on. Do both if the storm is still up.
Encounter level 68. Recommended walk-in 70. Hard rematch is 80 / 501,600 HP.
Ice and Electric. Both hit at ×1.5. Fire and Dark sit at ×0.66. Shaolong is Dragon and Water.
Yes if Shaolong floods the floor. Frostallion is Ice and flight. A ground-only box dies in the water.
An Azure Covenant Tower clear is $40. Feybreak is $35. Sakurajima is $29.
Ask LFCarry →Ask “I only have Orserk” or “solo hard mode, do I even try?” LFCarry reads this page.
- 5-minute timer, roof statue gone, live pin -423, -1425, 8-tower list, hard 80 / 501,600 HP, and $40 / $35 / $29 tower clear prices.
- New cover image.
- Page opened. Pin split, level 68 to 70, $40 tower clear.